INFEED TRAINING
Operating the Infeed
Introduction
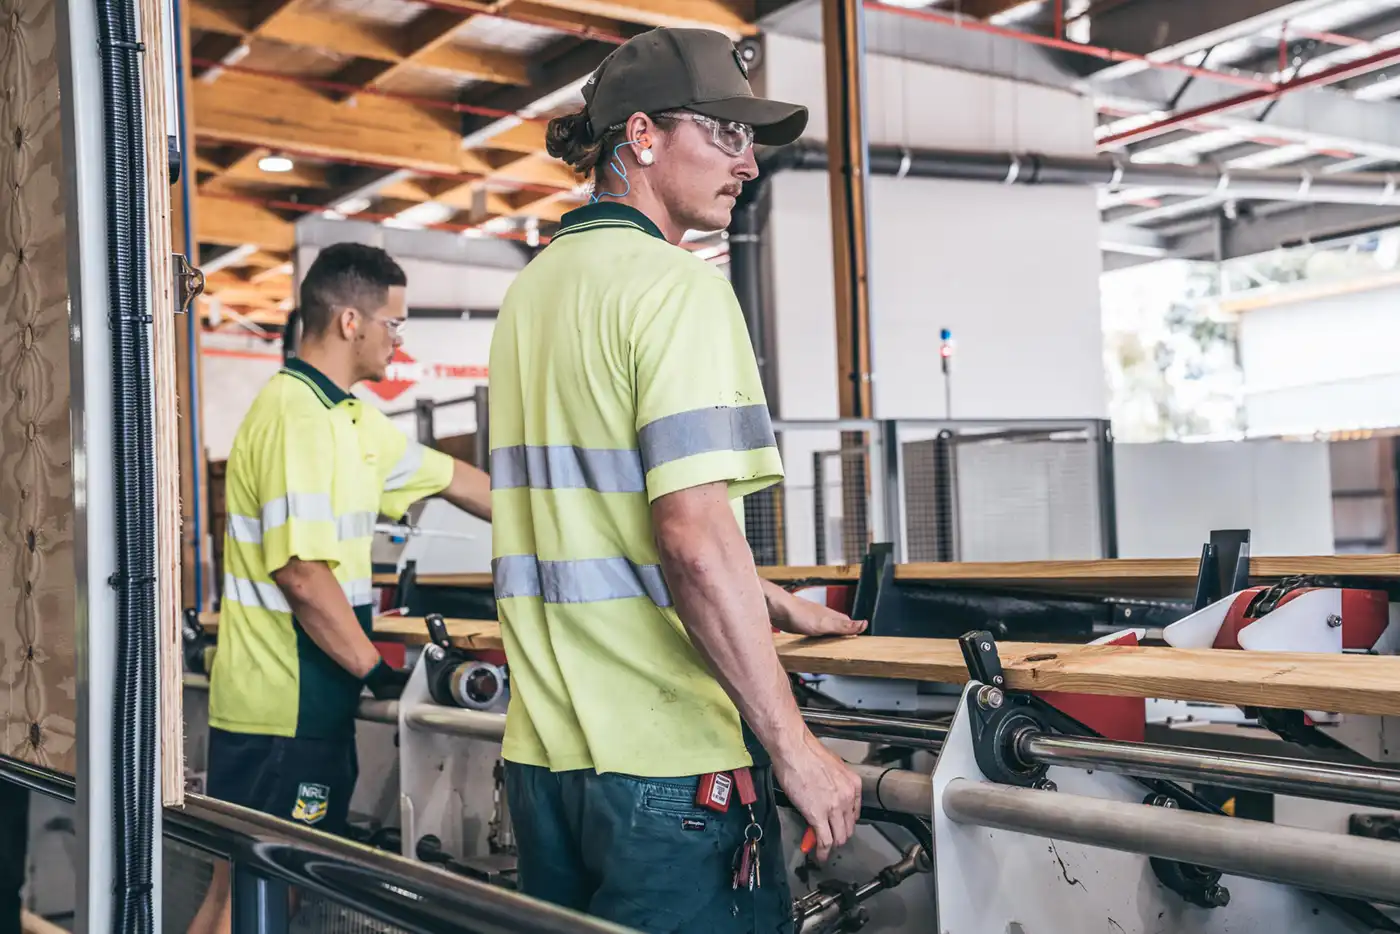
In this lesson, we will provide comprehensive instructions for operating the Infeed system, including the vacuum de-stacker, docking saw, and paddle stations. Following these detailed steps ensures efficient and safe operation of the equipment.
Infeed Overview
The Infeed system minimizes manual handling and prepares timber for further processing by docking out defects and cutting boards to specified lengths. It includes the vacuum de-stacker, docking saw, and paddle stations, which work together to maintain quality and efficiency.
Infeed HMI
Preparation/Starting the Infeed
Several steps must be taken before starting the infeed process to ensure it is completed correctly

Clear the Infeed Rollers
- Ensure that the Infeed rollers are free of any loose materials or obstructions. Verify that all safety guards are in place and that the area is safe to operate.

Load Timber Laminate Packs
- Ensure the correct timber laminates are loaded onto the Infeed rollers using a forklift. ‘Inners’ (low grade) are placed on one side and ‘Outers’ (high grade) on the opposite side, ensuring that straps and dunnage are removed before starting the process.

Clear the Processes
- Clear all previous processes from the system to ensure a fresh start:
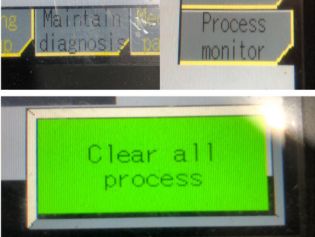
- Access the maintenance menu by pressing ‘MAINTAIN DIAGNOSIS’.
- Select ‘PROCESS MONITOR’ and hold the ‘CLEAR ALL PROCESS’ button for 3 seconds to reset the system.

Position the Vacuum Stacker
Position the vacuum stacker for optimal operation:
-
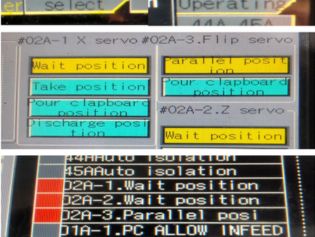
- Press ‘MANUAL SELECT’ and set the servo motors in the following sequence: ‘02A-2 WAIT POSITION’ -> ‘02A-3 PARALLEL POSITION’ -> ‘02A-1 WAIT POSITION’.
- Confirm the hoist positions on the home screen, indicated by red lights next to the positions when correctly set.

Activate Automatic Mode
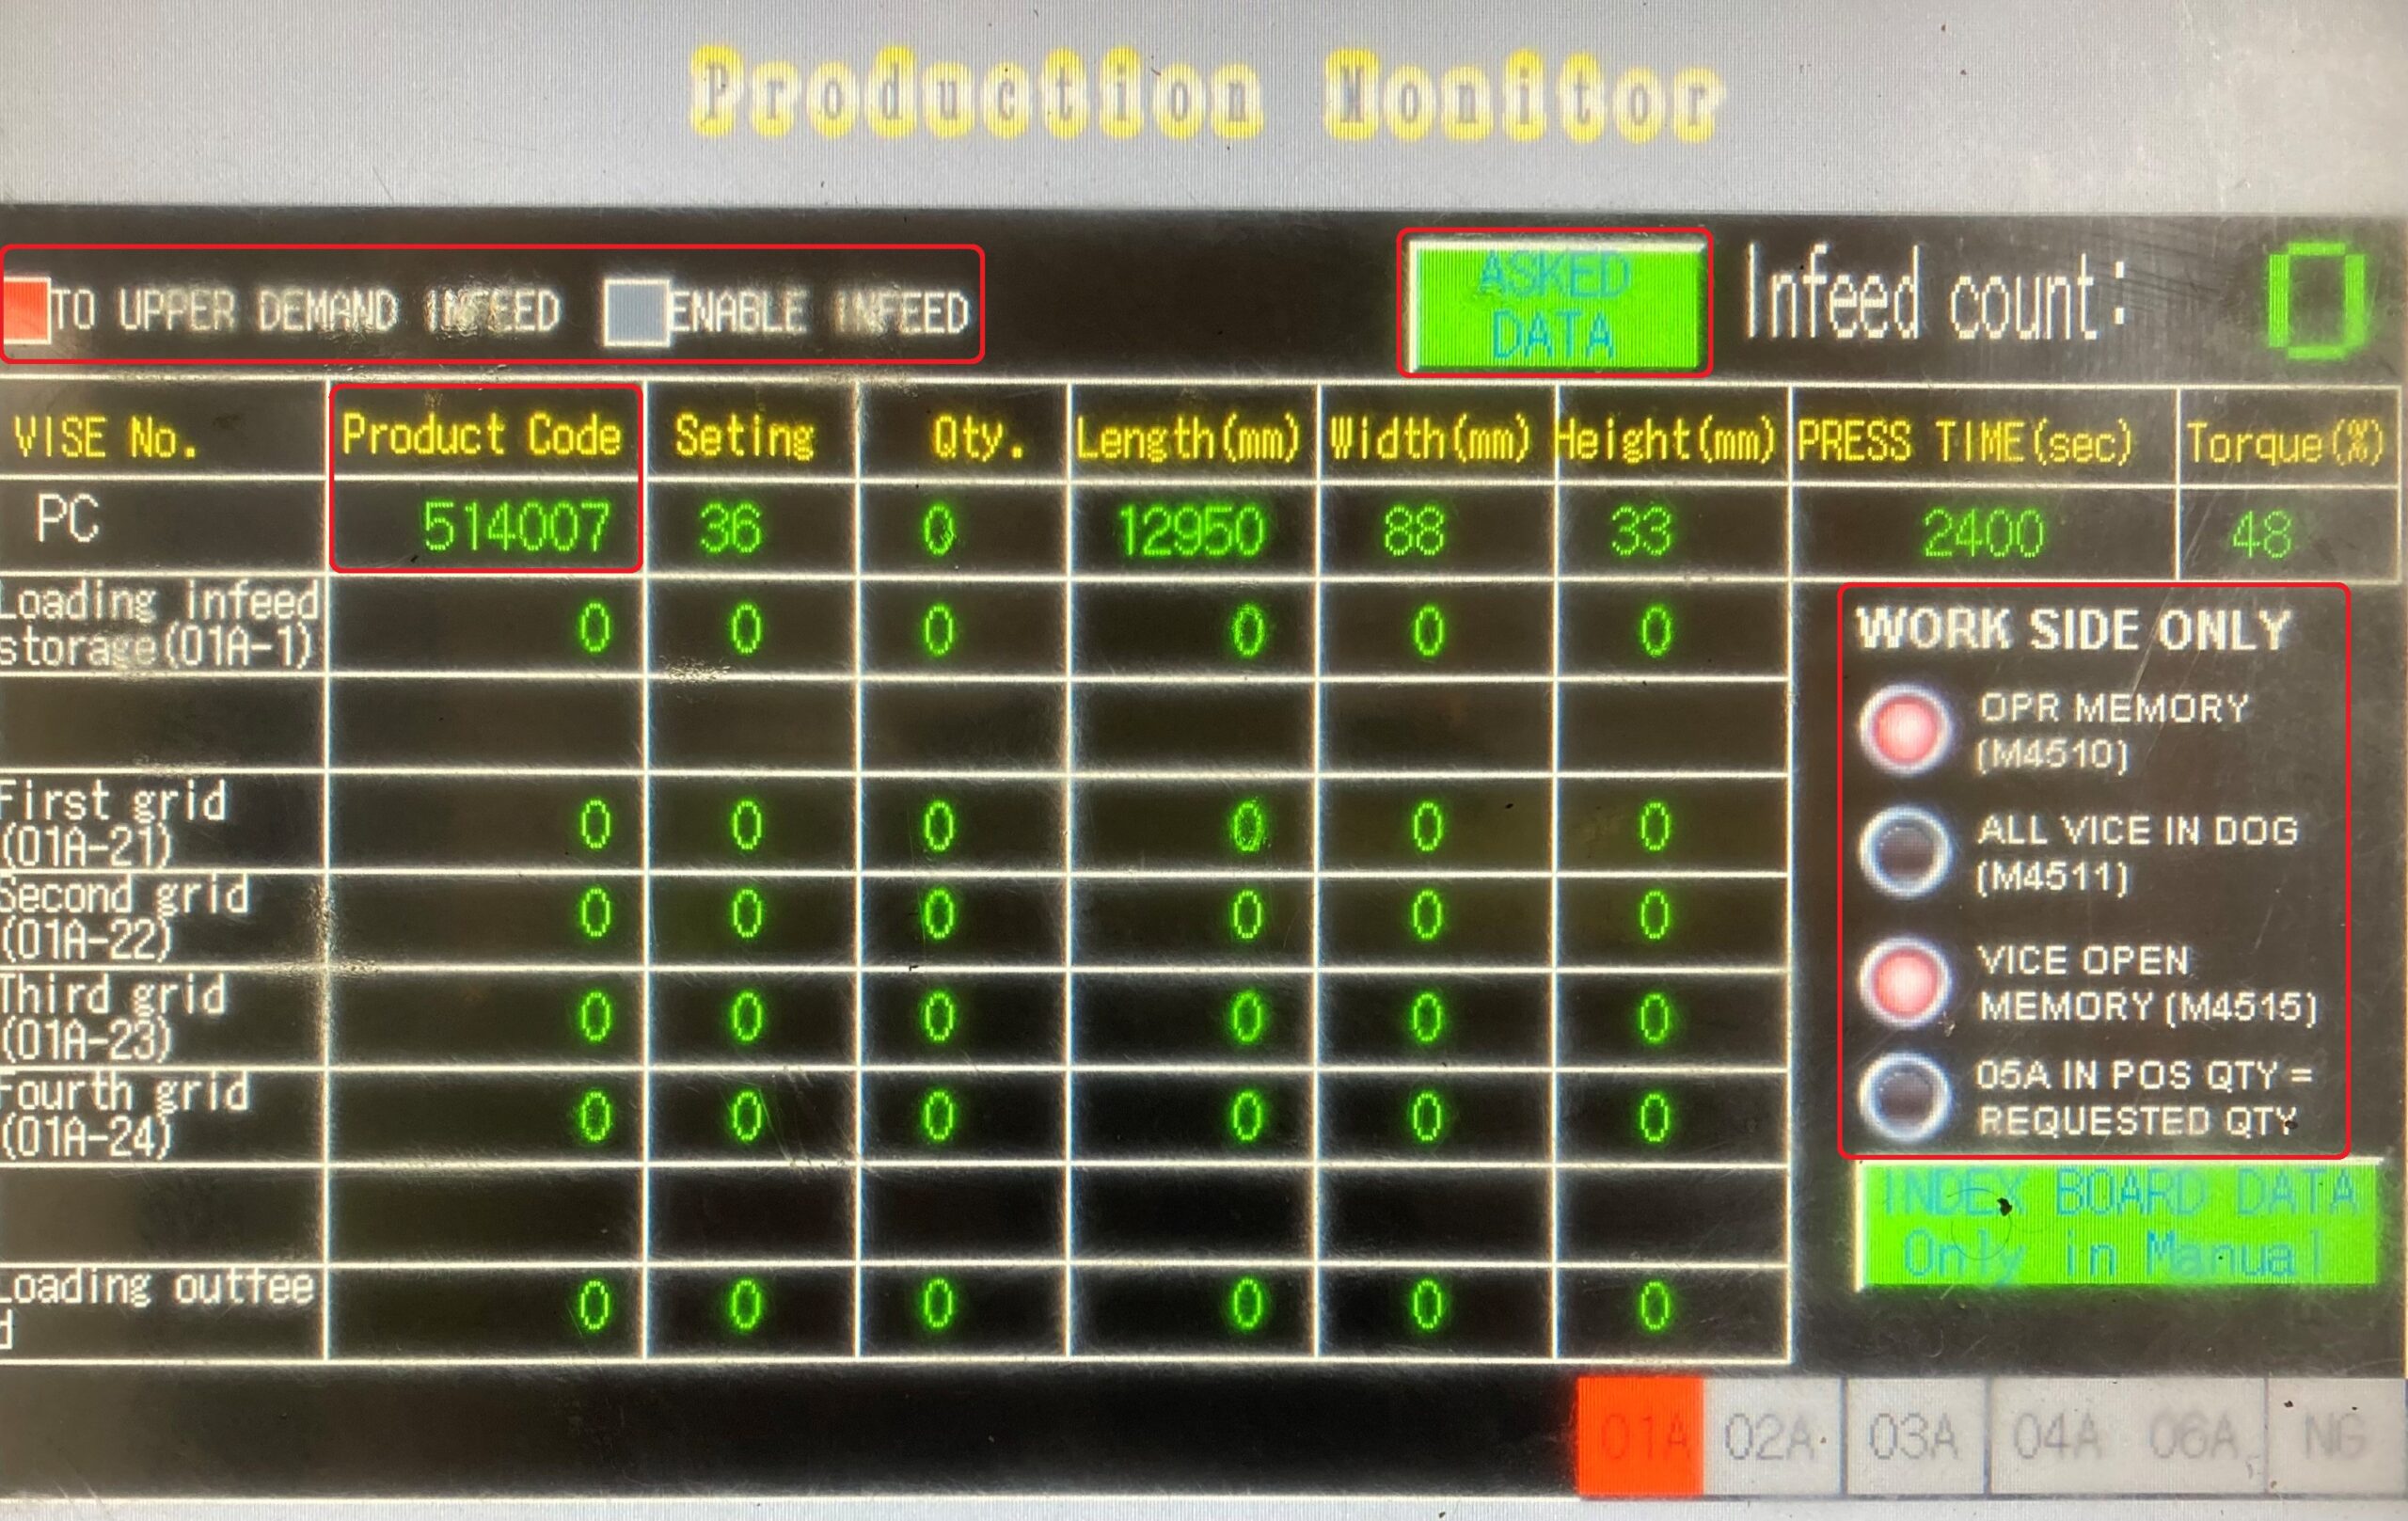
- Turn the key switch to ‘AUTO’ and then press ‘AUTO’ followed by ‘RUNNING’ to set the system into automatic mode, preparing it for operation.
Operating the Vacuum De-Stacker

Bring in the Laminate Pack
- Once the timber is loaded using the corresponding feed button on the HMI, it will automatically move to the center rollers and be forwarded to the Vacuum De-Stacker.

Lift and Position Timber
- The Vacuum De-Stacker will lift one row of timber at a time from the pack and place it onto the chains for grading.

Grading and Marking
- As the timber moves along the chains, manually inspect each piece for defects. Use a lumber crayon to mark any defects that need to be docked out.
- Ensure that the grading process is thorough, marking both sides of the timber where necessary to indicate where cuts should be made.

Dropping the Timber Laminate
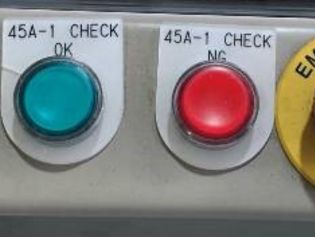
- After marking and grading, press the green 45A1 button to drop the graded timber laminate onto the outfeed conveyor. This step eliminates the need for sending data or scanning packs, streamlining the process.
- The graded timber will proceed automatically to the next stage of processing, where it will be docked and prepared for further operations.

Monitor the Process
- Continuously monitor the flow of timber through the Vacuum De-Stacker/Infeed system. Ensure that any issues, such as jams or misalignments, are addressed promptly to avoid disruptions.
- If at any point the system needs to be stopped, use the Emergency Stop (E-STOP) buttons located along the Infeed line to halt operations immediately.

Operating the Docking Saw

Starting Up the Docking Saw
- Step 1: Locate the docking saw controls (HMI) on the East of the docking saw behind the infeed conveyor belt. Press the ‘Reset’ button on the screen to reset the ‘saw blade position’ at initial startup.
- Step 2: Ensure the Source Key Switch is on.
- Step 3: Press the ‘Wood Return’ button to reverse timber if needed.
- Step 4: Use the touch screen to adjust settings and manually operate the saw.
Cutting Timber
- Step 1: Start the saw blade using the ‘Saw Blade Start’ button.
- Step 2: Feed timber into the docking saw, ensuring defects are marked with lumber crayon for the scanner to identify and dock accordingly.
- Step 3: Monitor the process to ensure cuts are accurate and defects are removed

DOCKING SAW HMI
Operating the Paddle Station

Setting Up the Paddle Station
- Ensure the paddle station controls (HMI) are located on the East and West sides outside the safety fence.
- Switch the mode to ‘AUTO’ to allow the system to run automatically.

Running the Paddle Station
- Use the touch screen to adjust settings and manually operate the equipment if necessary.
- Ensure timber pieces are stood on edge correctly and move forward to the outfeed belts for further processing.

Handling Size Changes
- As the timber moves along the chains, manually inspect each piece for defects. Use a lumber crayon to mark any defects that need to be docked out.
- Ensure that the grading process is thorough, marking both sides of the timber where necessary to indicate where cuts should be made.

